How to turn a small peppermill - part 4
Finishing the body of the peppergrinder
The mill body is now mounted on the mandrel and tapped until it runs true. The
base of the mill is on the right and needs to be drilled out.
Here I am using a sawtooth to complete the hole hoping to meet half way.
This method is useful because with this method of drilling from both ends you
can make taller mills without needing an extension rod for the sawtooth.
Here I show the 7/8 inch sawtooth. I mean to open it up to 1,1/2 inch with a
scraper to fit the mechanism but if you have an 1,1/2 inch sawtooth you
should use this first after carefully calculating the hole depth required
(see later).
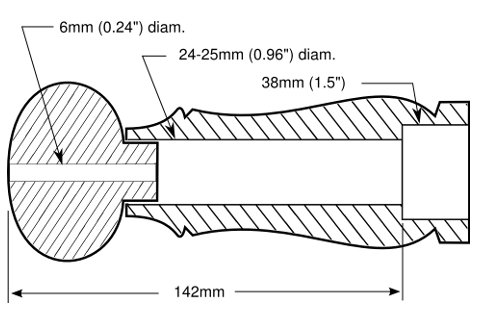
I use the scraper to open up to 1.5 inch (38mm). Correct depth is vital.
Measure the peppergrinder mechanism and the mill top carefully to calculate
the correct depth of the 1.5 inch hole for the seating of the cutter ring.
On my diagram (next image) I show 142 mm from the very top of the mill to
the seating for the cutter ring
 The 142mm dimension is critical and of course will be different with
different makes of mechanism.
The mill can be reversed onto the mandrel and the top inserted in it's correct position. Bring up the tailstock for support and finish turn, sand, and polish the mill.
The mechanism can now be fitted, secured by screws through the strap. It
would be wise to pre drill the screw holes slightly splayed out to avoid the
screws breaking into the hole.
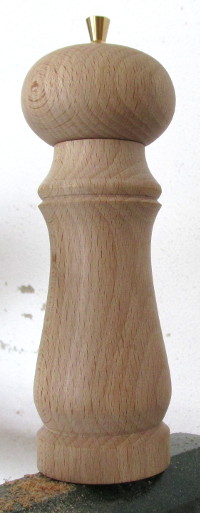
 Job done! This mill is made from beech and finished with Chestnut finishing oil.